Gorgeous new cabochon necklace is available at Art a la Carte PA!

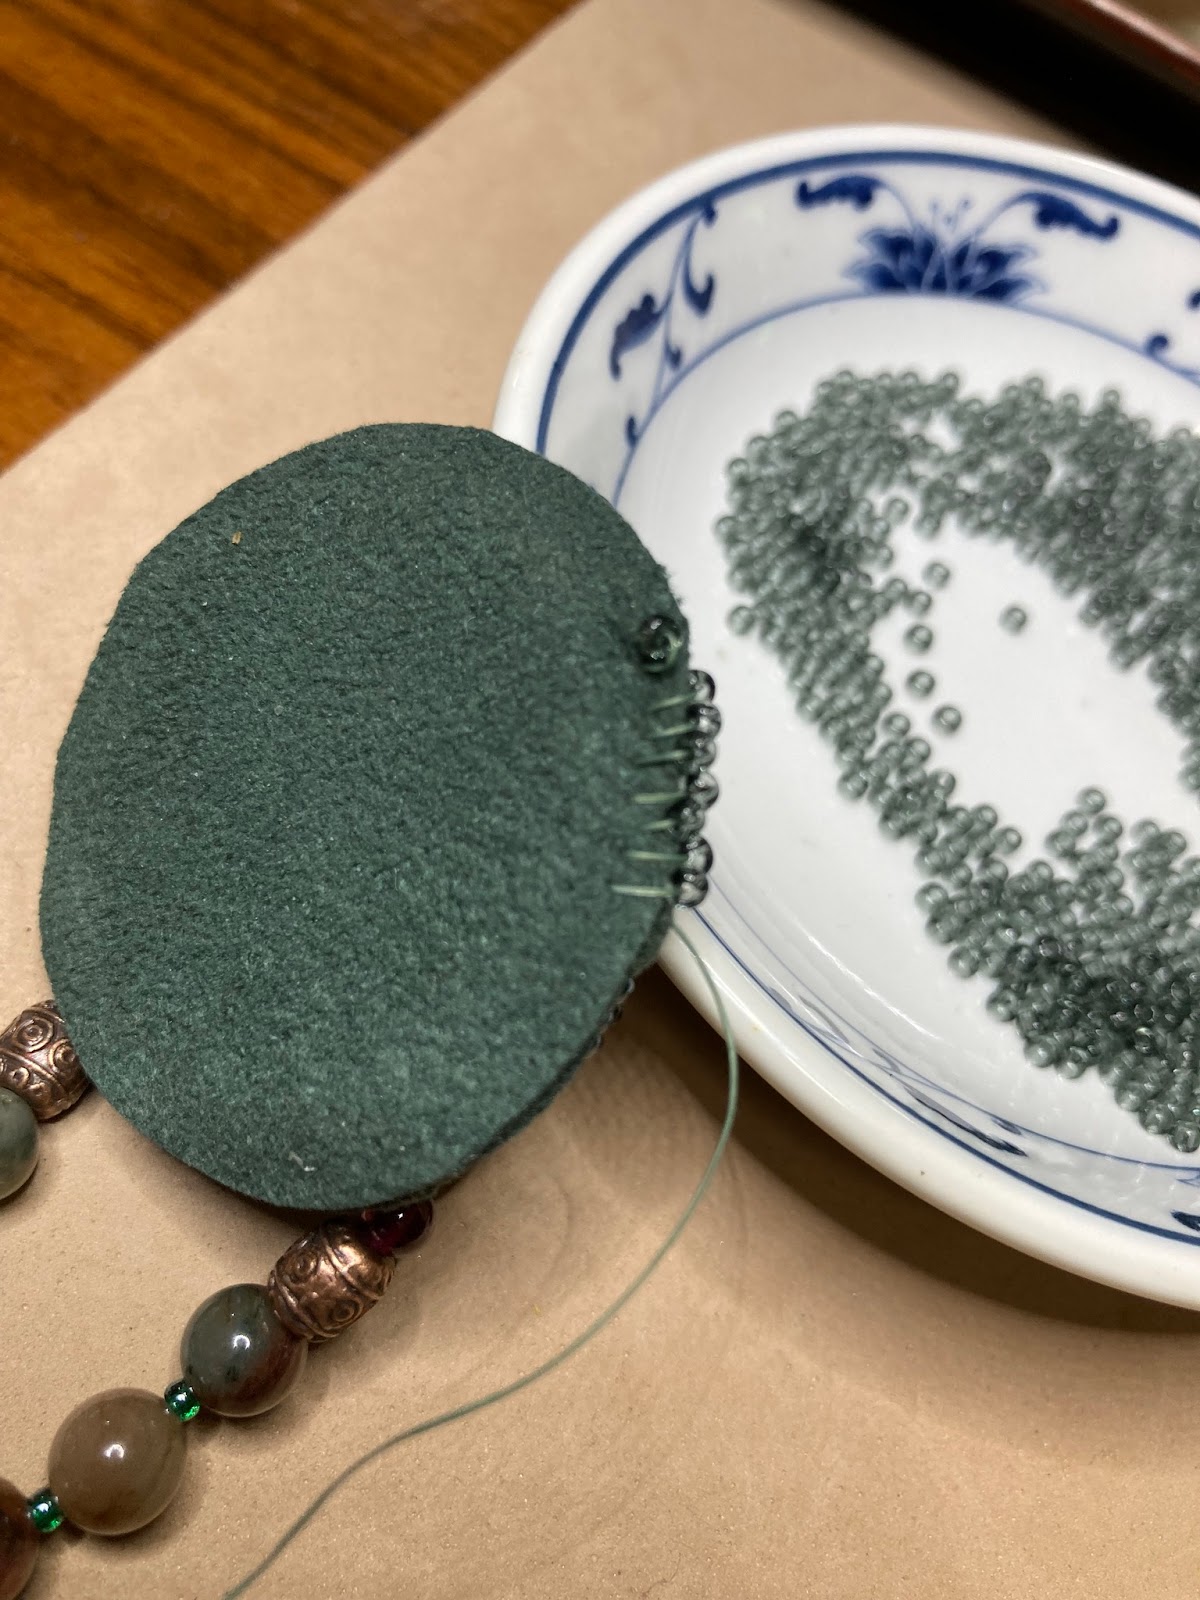
For all of us who love TREES, the subtle "image" that I see in this round agate gemstone cab is of a single beeeautiful tree. With the colors, I gazed upon it and they sang out to me. It is paired with what's known as "phantom quartz" or "rainbow quartz" gemstone necklace straps and one of my favorite magnet clasps. Easy on/off but stays put while you're wearing it. Get a load of that needle! It's bent because the size 12 and size 10 beading needles need to be very thin to go through the tiny beads, so by the end of the project they're often bent. I sometimes prefer to use a bent needle so that it'll curve right up as I build up the border rows.

This is the start of the cabochon necklace. These are the colors that sing out from the cab itself. Yummy!
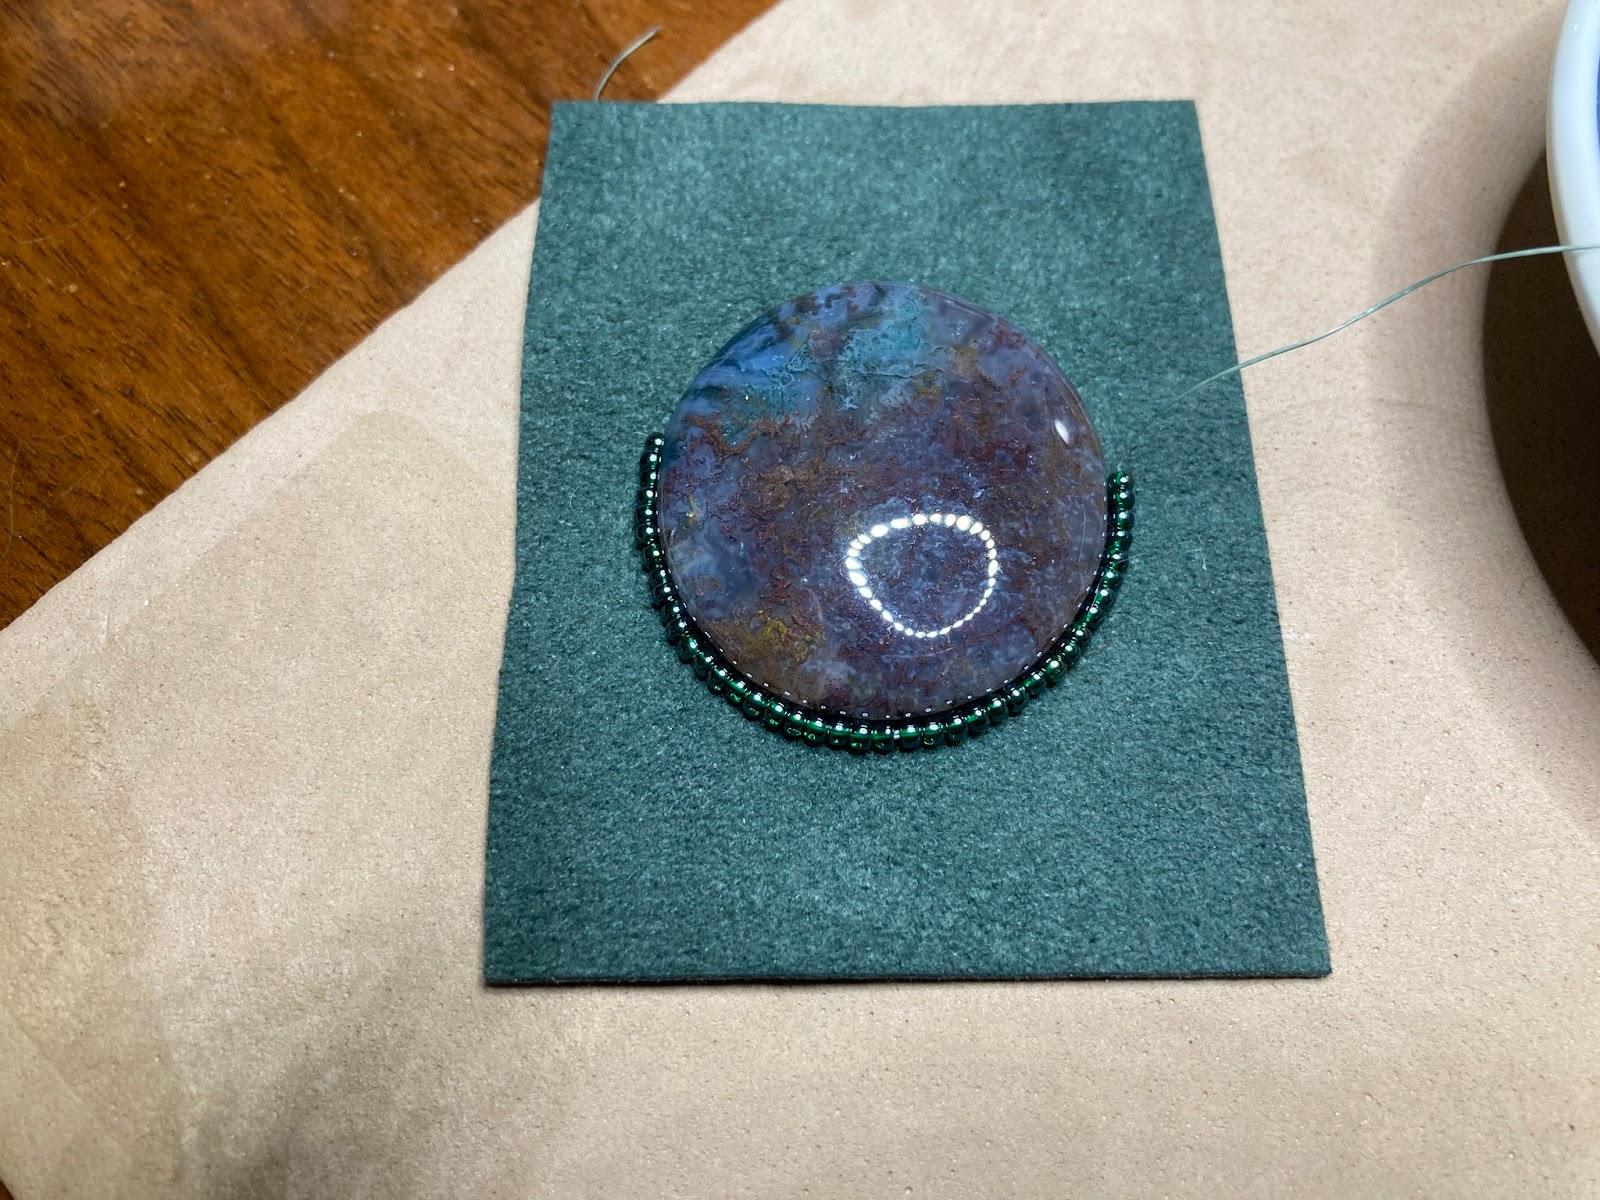
The cab gets glued to a fine piece of ultrasuede, which is the perfect host for the hundreds of beads that will comprise the border. My favorite stitch for this is the traditional Native American peyote stitch. To begin, I put four beads on at a time and backstitch down, up, and through, so they sit smoothly. This is what creates excellent quality. I've found over the years that if I do these too close together the rest won't work; it's the thread/cording that lets the beads breathe so they can sit nicely as I build the layers.
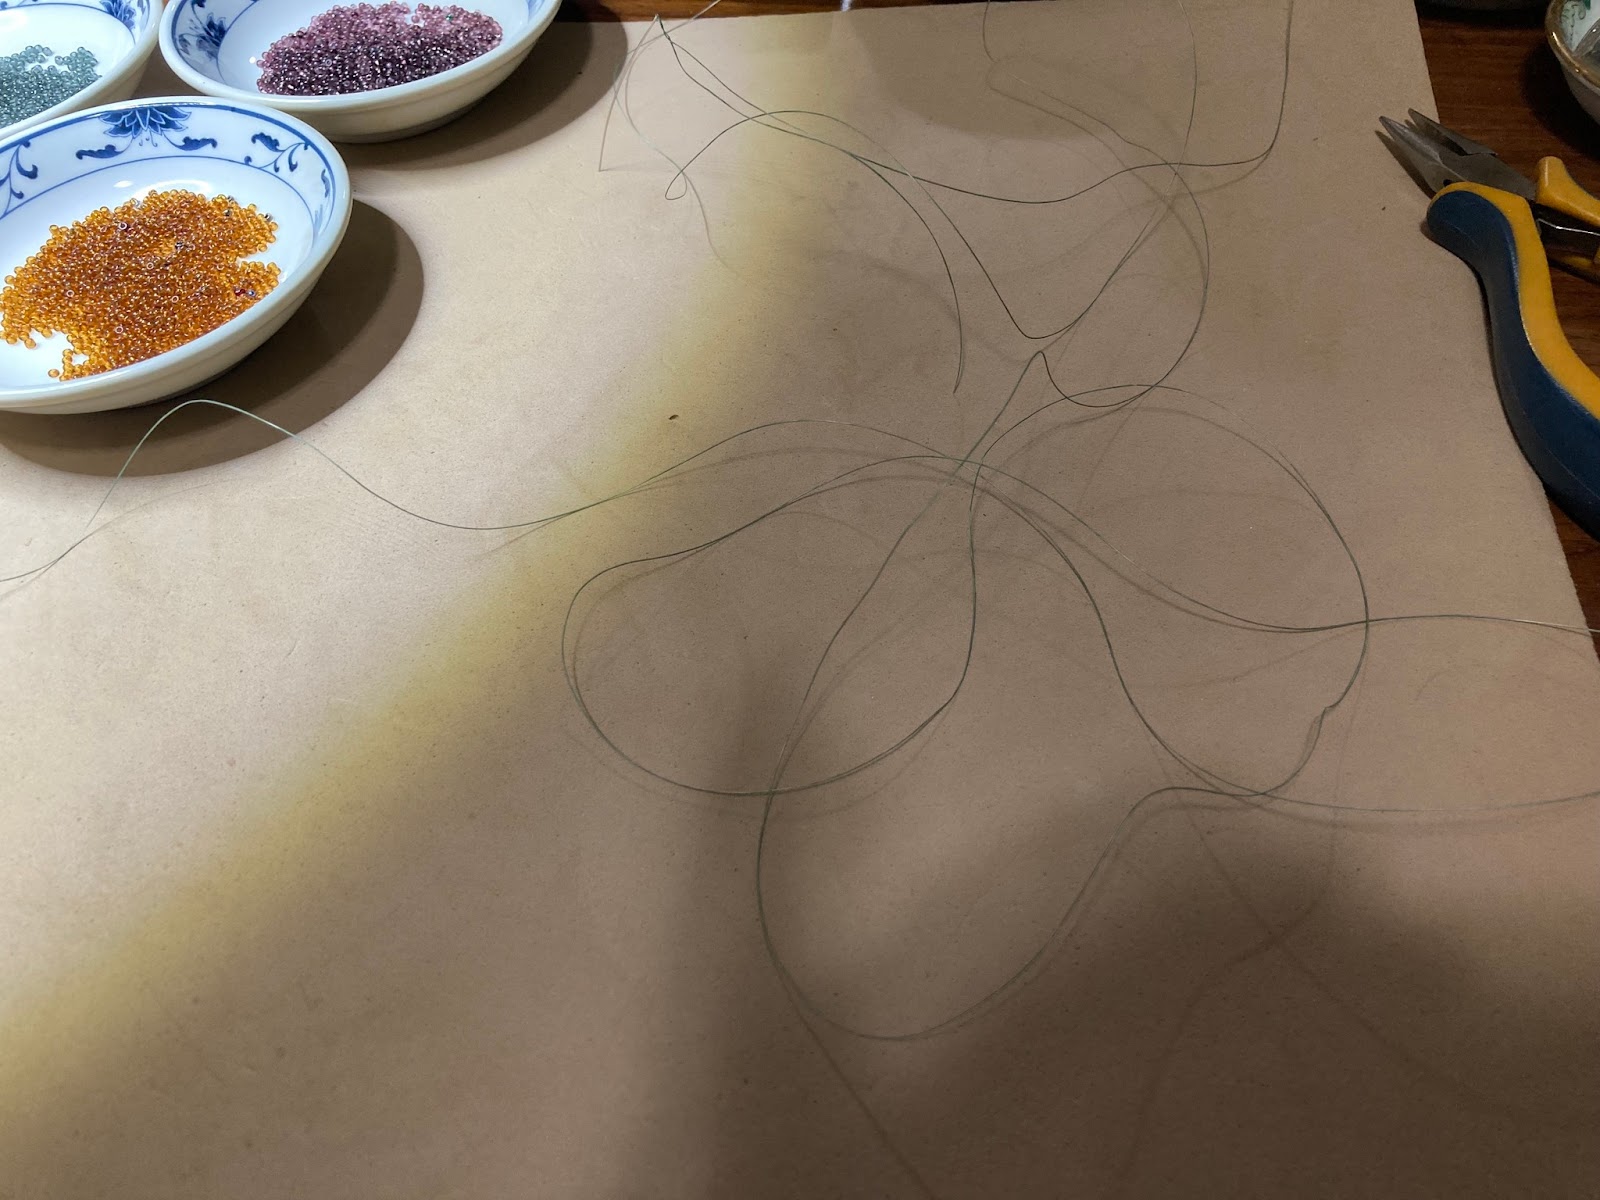
It can take years of experience to be able to gauge how much thread will fit through the tiny 11/0 seed beads, some of which must be able to take at least four, and sometimes five to six passes. I even have to switch needle sizes to get the final stitches done, which are woven back and forth through the border. No knots except for the start and finish. So it takes a couple of yards of thread (no tangling please!) to get through the whole border. If anyone wants to know, yes, I do talk to my thread, and it's usually very responsive. If it wants to tangle upon itself I say, "Oh this is just boring. Do you WANT to be a beeeautiful necklace?" And magically it will allow me to easily undo what could be a potential nightmare.... Only dreams please. Thanks! Magical tips: the cording hates competitive games or violence, so I'm picky about my TV and music while I'm working. YEP! It WORKS like a CHARM! Pretty good for me too!

Yep, these are my TOOLS! And I LOVE THEM! The beeswax that you see has been used literally hundreds if not thousands of times as I condition the thread as I sew. This strengthens it and helps it not to tangle. The black is not dirt, it's what comes off the cording if I'm using the dark one. Yep, one of my tools is a verrry old-fashioned diaper pin that I used for my son's diapers before we switched to disposable ones (that was more than 30 years ago, how time flies!). Sometimes I have to use this to clean out the holes in some beads, especially wood ones, before I use them. And everyone knows that scissors are sacred, yes?
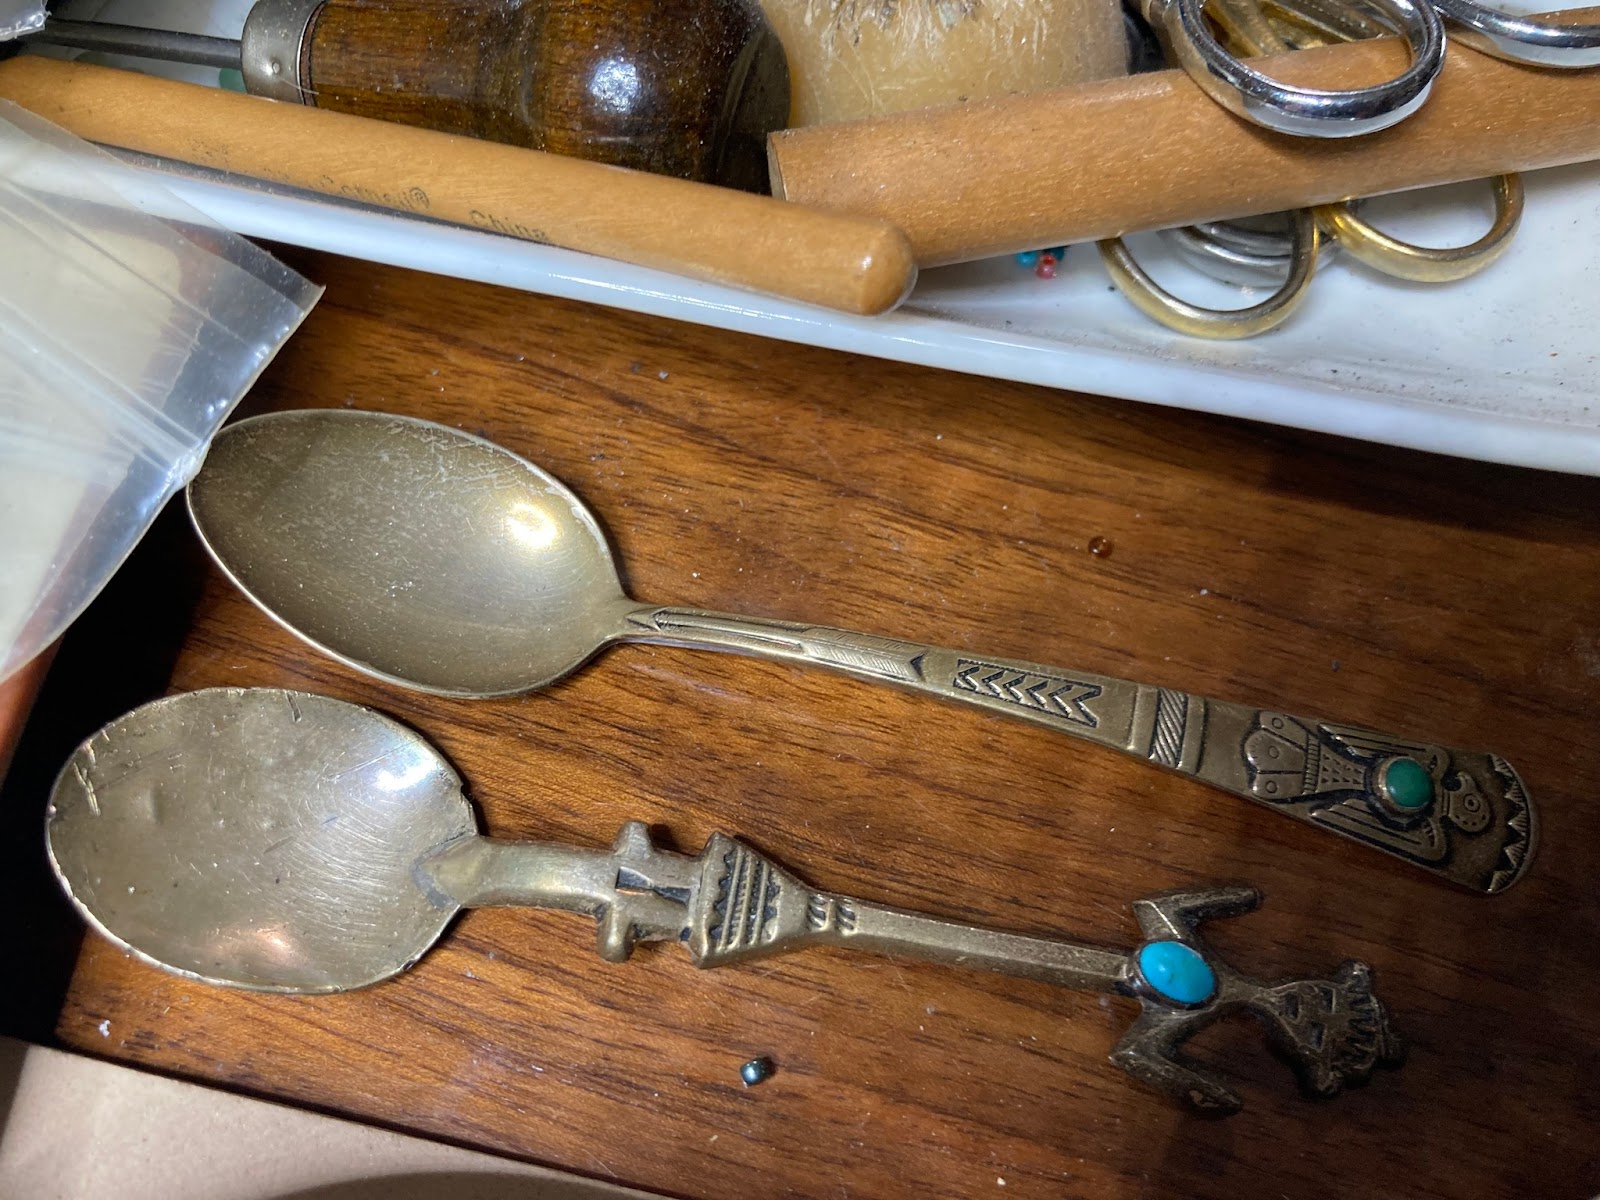
The spoon on top I use all the time for putting the tiny beads into their saucers for working. Apologies for not polishing it before the impromptu photos. It's sterling, Native American. I picked them both up in California. The one on the bottom somehow found its way into the garbage disposal for a few seconds (I wasn't manning the sink at the time, oh nooooo!) and I know just where to take it for repair. That's on my list of things to do....

The "tinies," or "littles" are the 15/0 inside row or two of beads that help the border to tighten around the cabochon. Also a skill that takes years to master properly. I choose a few different colors but wait for the cab to let me know which one(s) to use as I finish.
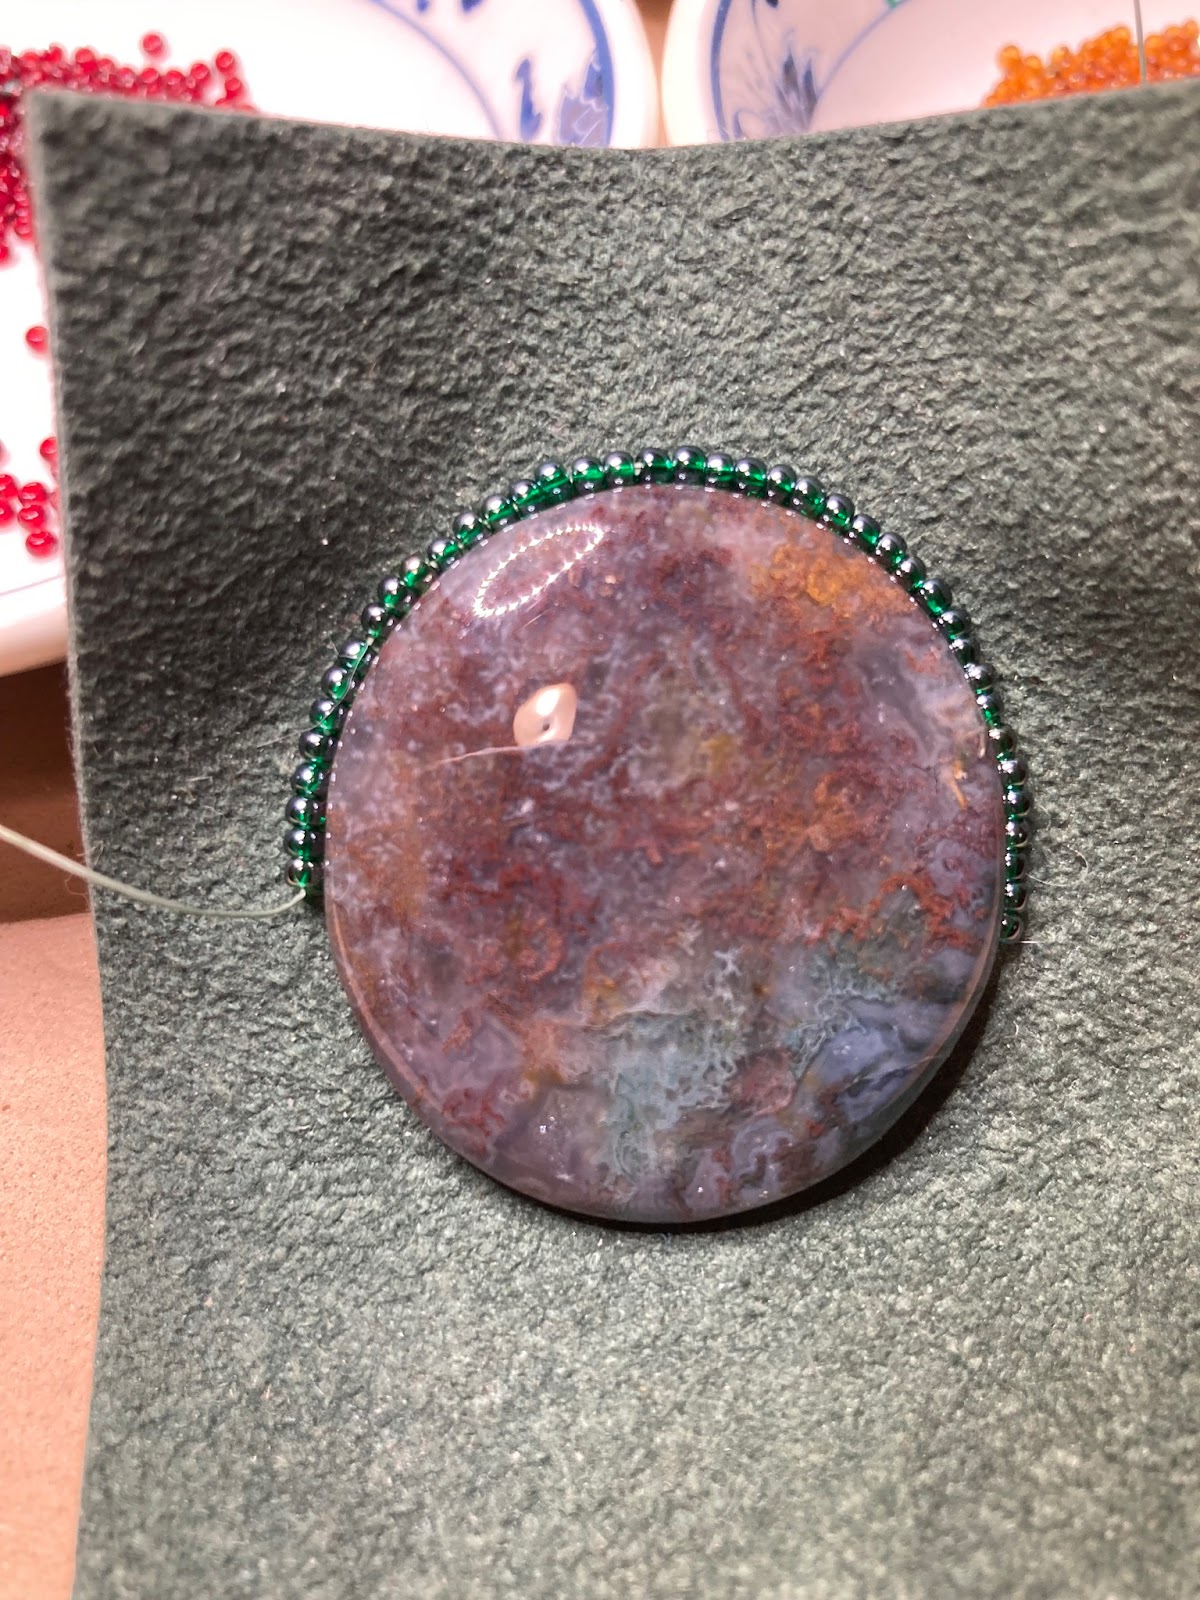
THERE she is! Do you see the image of a gorgeous tree? I'm in love with it.

There's much that I do not have control over when I do this artistry. One of those things is the order in which I build up the border. I've learned over the years that before I begin, I must put each color of seed bead onto my needle and discern which ones are the widest and which are the narrowest, because for my process, it's essential to go from large to small (bottom row to top row) when building the border, otherwise it won't sit tightly when done.

Oh gosh, the border is done and I can tell it reeally wanted to be made, because though I don't "count," when I chose the final row to have a bit of extra decoration in the four larger green beads (at 12, 3, 6, and 9 o'clock), the math worked out PERFECTLY. I LOVE when that happens. I suppose I could do the math beforehand, but I don't like to get bogged down when I'm in the creative process, unless I'm doing a beading chart for loomed bracelets or something like that. All the green around the cab will be trimmed off during the last few steps of the process.

Isn't she just lovely?! I don't know if she wants fringe yet, so far she hasn't asked for it, but she'll tell me after her necklace straps are on, which is the next step. Or, if someone is interested in her I'll do the fringe if they let me know they want it : ) It has to happen before the final backing so the start and finish knots don't show....


So we're doing the second phase of this cabochon necklace. We've glued the backing on, and in this photo you can see the two layers of dark green ultrasuede.

I've trimmed the backing to about 1/16 inch around the outside. (Don't mind the reflected light....)

I push my needle between the two layers of dark green ultrasuede and out the back so the knot at the end of my cording sits inside and won't show. Excellent quality for my work means no knots showing, ever! I love when people say, "How'd she do that?!"

I pick up one bead and come up through the back to the front, making sure I get both layers but don't invade the rows already on there. Repeat, repeat, repeat, all the way around.
This is what the back looks like and I try to keep my stitches tiny and uniform.

Once you've made a few of these your hands learn how to hold everything to make things sit nicely. See that bead sitting on my finger? I'm going to make sure to push it towards the front of the piece so the row will sit nicely next to the other rows.

After I've finished putting on that whole row it kind of sits sort of raggle taggedy, so I sew around it again, and like magic they all sit beautifully aligned next to each other. Here, I'm sewing through the second time.

This photo shows how the beads are nicely aligned after the second round through along the bottom part, but the top part isn't done yet, and you can see it's a bit raggle taggedy. (Is that a word? It is now!)

She asked me for a bit of star power, so I sewed a sweet picot border all the way around with the red that's also in the cabochon itself. There are lots of different tutorials on YouTube for how to sew a picot border, and with this one, I went through twice as well, to make sure the red beads sit next to their sisters properly. Sorry for the poor lighting. Don't mind that white light on the cab, it's just my overhead OTT light (which I could not do this work without!)
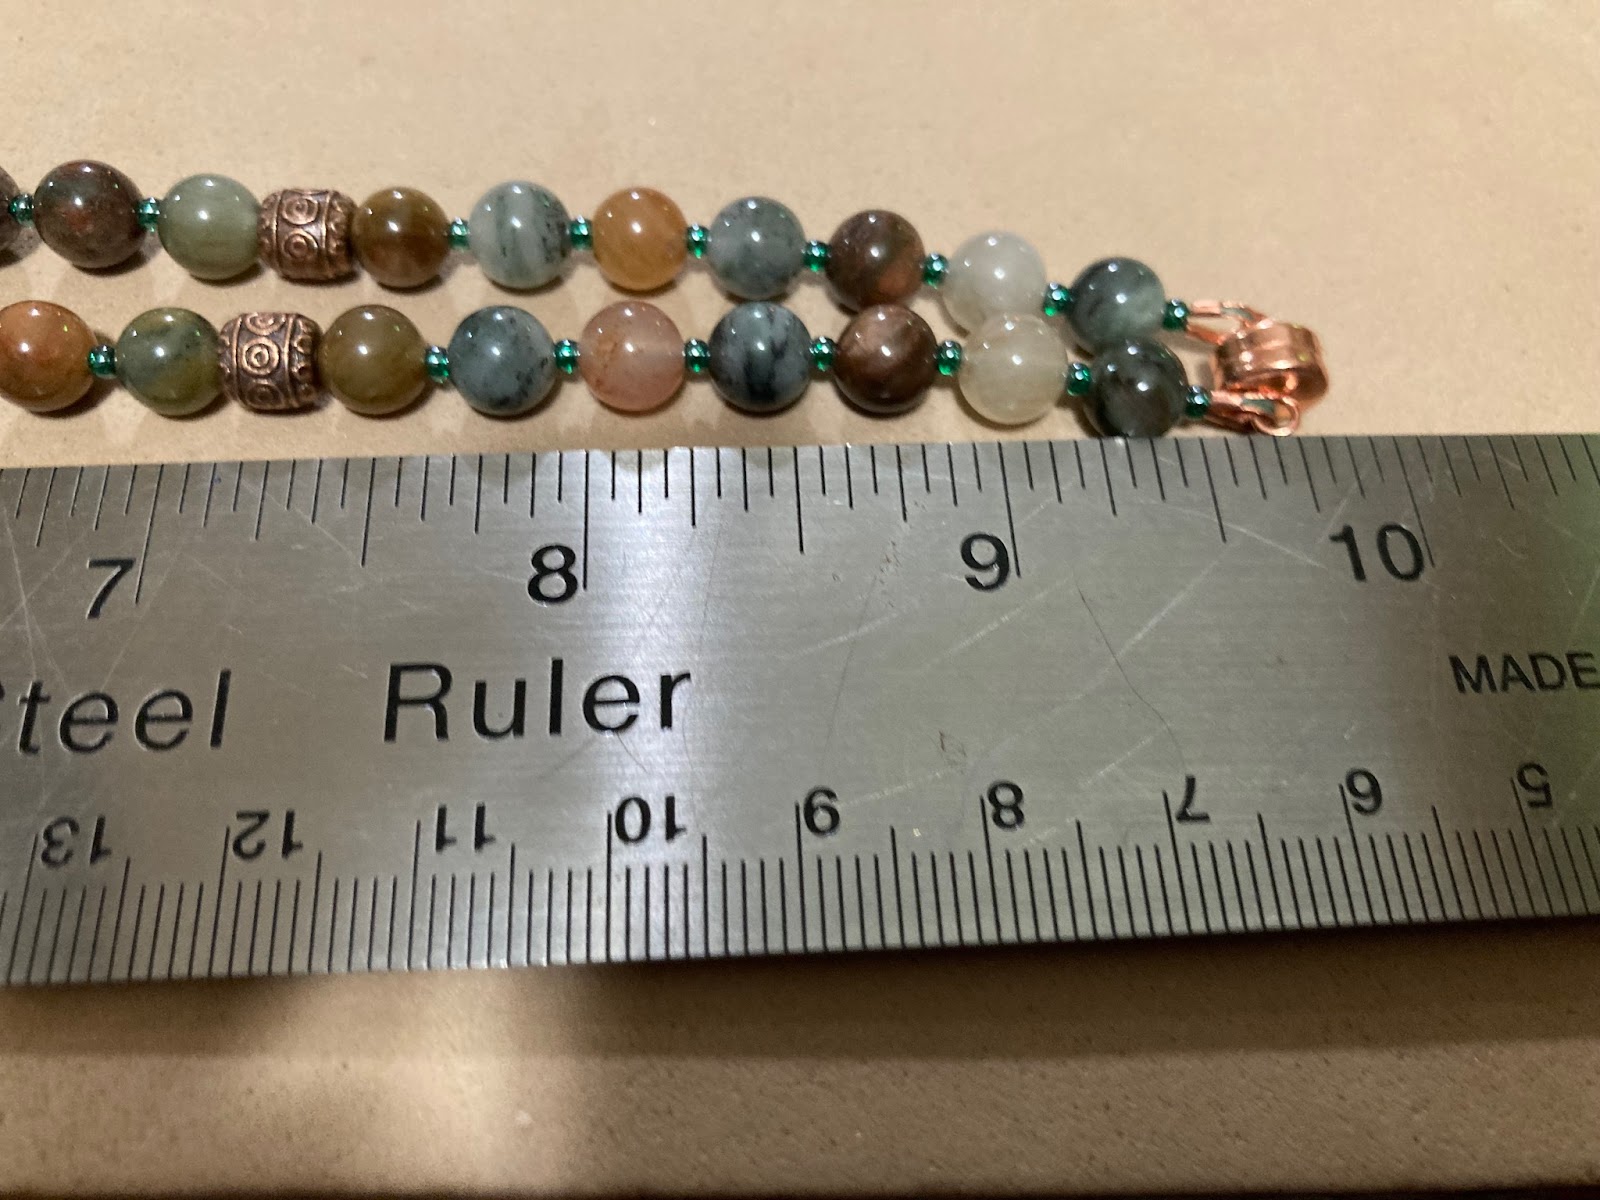
The length of the necklace is 20 inches, so it sits a bit below the collar bone. With wear and a bit of age, the color of the copper clasp and wire guards will mellow and blend in. Most times with these necklace strands I take the extra effort to match the two sides though of course with the gemstones there's always a bit of variation; that's part of their charm!

Here you can see the 20 inches. I go through the necklace straps four times so they have about 32 lbs of strength in the cord itself on each side. With these necklaces I don't double up the cord to do this because the needles are verrrry thin so as to fit through those tiny seed beads, and they can break easily. So I take the extra time to go up and back, knot, then do a new thread and go up and back again. I like my work to last a long time : )

The cabochon is just shy of two inches. A really nice size, not too big and not too small.

Here she is! TA DA!
The lovely Cosmic Tree Cabochon necklace is finished! YAY!! Here's the lowdown on the final steps. She's now available at Art a la Carte PA!
Beautiful agate cabochon (the middle part), "phantom or rainbow quartz" necklace beads depending on how the vendor describes the gemstone, copper accent beads, and a luscious selection of seed beads with a sweet picot border. Yes, you can definitely wear her with jeans and a tee! She doesn't mind at all. I wear my cab necklaces with very informal clothing all the time : ) Or pop on a pair of heels with those jeans or some gold or silver sandals and a button down with extra buttons left undone for date nights. She likes to get dressed up with you for special events too. She's one of a kind, no other like her in the whole wide world!
Takes me about 16-20 hours to make these plus materials, which are the best quality I can get (some of my best cabochons come from Jaipur, India, and gemstone beads from all over the world), so when you see the price tag, which will be around $180, it's a giveaway full of love. What else would I rather be doing? It's one of my very favorite things to design these and I want you to enjoy them! Time well spent indeed : ) It's on my list to start doing some videos of the process but I'm not set up for that yet.
No worries if she sells, I try to keep several special pieces available at Art a la Carte, and am happy to work with clients on custom pieces. The design process is so much fun and so personal, and it doesn't cost any more to have one made on commission. I've done commission work for people all over the world, so you don't need to be able to visit me in person, we can communicate and share photos in a number of ways thanks to technologies today, yay!
I'm at dreamkeepercreations@gmail.com
Thanks for taking a peek! Happy beading if you're checking in to learn!
Namaste,
~Jen
No comments:
Post a Comment